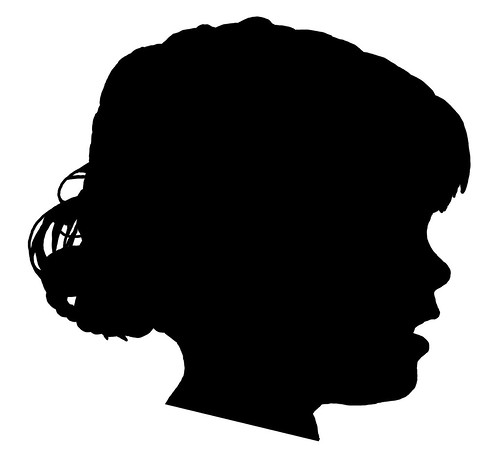
I love silhouettes. My husband has one his preschool teacher made of him when he was about four, using the now old-fashioned method (which I presume was ultra new-fashioned at the time): she used an overhead projector to cast a focused shadow of him on the wall, where a piece of black construction paper was waiting. He (I can only guess) was a very patient preschooler and stood mostly still while she traced with a pencil, then later cut out the silhouette and glued it to a background piece of paper.
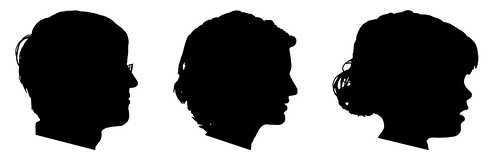
I can see the appeal of that method, I really can. Or better yet (given that my impatient toddler is not yet a relatively patient preschooler), I thought I might trace around a photo. However, based on my love of messing around with image manipulation software and my lack of a really solid pair of left-handed scissors (or confidence in my xacto skills), I decided to do it digitally. I concede, it might lose some of the charm this way, but nonetheless the method suits my needs. If you are similarly inclined, here's the method I used. (Note that this particular digital method preserves the hand-drawn nature of the older methods; I tried to generate an automatic selection through a series of adjustments to curves and thresholds and fuzzy selections, but try as I might, the results were choppy and unnatural looking. For me, (digitally) hand tracing the outline proved faster overall and produced a more friendly result.)
Take your photo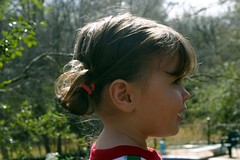
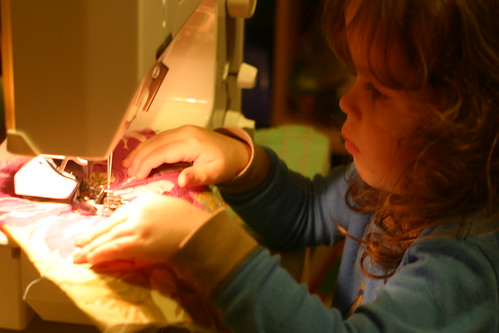
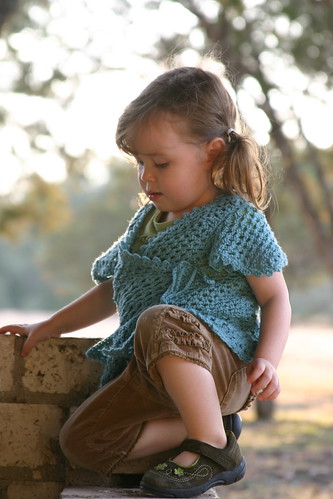
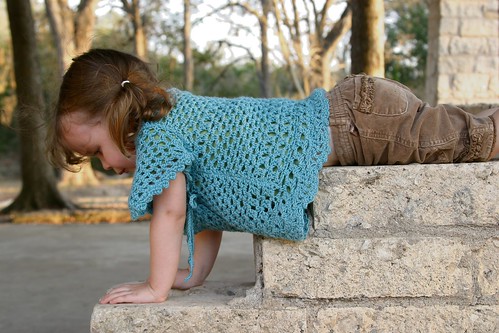
Photograph your subject in profile, framing tightly (say, from the bottom of the neck up). As much as possible, make sure your subject is in full profile and not somewhat turned toward or away from you. Also, it is best if the camera is level with the person's head so that you don't get a funny high or low angle. More than you would expect, the expression comes through in the finished silhouette, so aim for a natural expression rather than a scowl (produced, perhaps, by a somewhat uncooperative model's exasperation with your need for one more shot). Bonus points if you can find a contrasting background -- if you have black hair like I do, a white background would be preferable to the background of dark trees I managed to put behind myself.
Prepare the image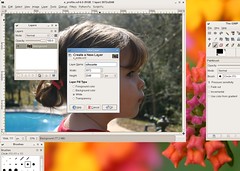
+ Open the image in a photo manipulation program (I use the
GIMP which is open source and freely available; Photoshop would also work. You know... I hear it's a good product, too.)
+ In your Layer dialog, add an alpha channel to the background (and only) layer.
+ Add a new layer, selecting "white" as the fill type (I called mine "silhouette"). Move that layer down, so that it is below the photo layer. This is the layer on which you will draw the black silhouette.
+ Change the opacity of the photo layer to something around 65% (adjust to your liking). This enables you to see the photo and what you are drawing on the silhouette layer at the same time. Handy.
Outline the silhouette+ Select your brush -- I used the 11 pixel circle, but you could go smaller if you wanted finer details; just don't use one of the fuzzy circles. Make sure you drawing (foreground) color is black.
+ Zoom in on the image so you'll have better control over your pen. (In the GIMP, you just hit "+". I'm sure most of this stuff is the same or very similar in Photoshop, but I haven't used that in a while and can't remember exactly.)
+ In the Layer dialog, make sure you are on the silhouette layer (so you don't draw right on your photo). In fact, stay on this layer for the duration; the photo will only be used as a visual guide.
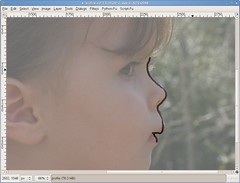
+ Begin to outline the silhouette of your subject using the basic drawing tool. Keep in mind that you want to keep the entire width of your pen inside the profile (unless you want a slightly extra large nose or forehead).
Tip: Rather than draw in one continuous line, you may find it helpful to draw in shorter strokes (just pause and let off your mouse button once in a while as you draw). That way, if you go slightly off course, you can just hit "undo" to remove a short bit of errant drawing, rather than have to pull out the eraser or redo a long line.+ To check your progress as you go along, just turn off the photo layer and you'll see your black lines on the white silhouette layer. This way, you can get an idea of exactly how much detail (say, on the hair) you'd like to include.
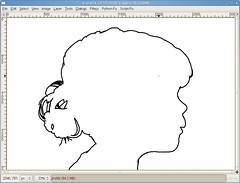 Fill in the outline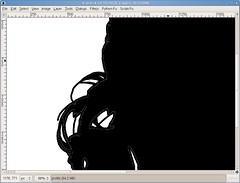
+ You can try to use the bucket fill tool at this point to fill the area inside your outline. However, you may find that you end up with a little halo of white dots between your black outline and your black filled area (see right, click to see larger photo -- those dots are small). To avoid that, try this little trick:
+ Undo your bucket fill. Select the fuzzy selection tool, and click on the white area inside your outline to select that area. Before filling the area, you need to "grow" your selection so that that ring of white dots is included in the selection and thus will get covered up when you fill. To do this in the GIMP, under the "select" menu, choose "grow". In the dialog box, specify the number of pixels by which it should grow -- just enter something smaller than the diameter of the brush you used (my brush was 11, so I entered 7).
+ In the bucket fill dialog, select "fill whole selection" rather than "fill similar colors" so that it uses your fancy new selection when filling. Now you're ready to fill your outline. Hurray! A nice clean silhouette.
Tidy up and finish+ Now is a good time to clean up any rough edges and refine the details. I found it helpful to change my drawing color to white and "shave" off any shaky bits that look untidy. Pay special attention around the facial profile; subtle differences (such as a slightly errant tracing of the curve of the nose) can affect the resemblance of the silhouette to your subject. Also, you can add or remove details as needed. (I always need to adjust a bit on the hairstyles. Not unlike real life.)
+ Rather than have the neck/shoulders continue all the way to the image's bottom edge, you may want to trim it at a nice jaunty angle, like traditional silhouettes. Just draw a white line at the angle you like (note: holding down shift constrains the pen to a straight line). Then, do the fuzzy select/grow the selection/bucket fill trick we used above (this time filling in white) to cleanly remove the, well, body from the head. (Ouch.)
Your silhouette would be lovely framed alone or in a set with other individually framed silhouettes. If you'd like to do a couple or family grouping in one print (so your silhouettes can chat with each other?), just create a new image with a white background large enough to hold all your silhouettes and copy/paste the individual silhouettes into it. I like to make all the silhouettes the same height -- all the better to compare the wacky differences in proportion of child and adult faces -- so before merging the images into one, scale each accordingly.
Tip: crop each image so that the top and bottom of the silhouette precisely touch the image boundary. Now just scale each image to the height you want (say, the height of the smallest of your silhouettes), and they'll all be perfectly the same.(Click on any photo for a larger version; the details are hard to see at this size.)
And there you have it, some lovely silhouettes to save for posterity. It would be interesting to do a silhouette of a child each year or so as they grow and their profile changes (okay, let's see if I can remember to do that...) If you know of clever uses for silhouettes, I'd love to hear them -- maybe embed wee tiny faces into resin buttons or something? In the mean time, I'll consider it a success if I remember to print and frame a more tangible version of these digital silhouettes. (Oh, the follow-through!)